Adding a search engine to your website can be a strategic decision to fix an X, Y, or Z problem, also it's not always just about throwing a search bar and button, it can be about crafting a whole "search experience" with filters, relevance, sorting features and so on... Finally, adding a search engine is not necessary for your users to use it "actively", so to say with a search form: it can be, for example, for your website to search for similar products to the current one in order to push them inside a "related products" section. Anyway, I'm pretty sure that all of that sounds obvious to most of you, just wanted to open everyone's chakras about search so everyone has at least a glimpse at what they can achieve with a search engine before diving into today's topic: adding one to a Jamstack website.
Search Basics
Before jumping into the "adding" part we first need to know what a search engine is about. To me it implies two things:
- A database to search on;
- A search kit.
The Database
Indeed you'll need to have your data stored somewhere in order to search through them, and you're probably thinking:
"Oh that's OK! I have those on my CMS already~"
Well, that's true, although to be part of the real search engine game we need a bit more than just MySQL and WHERE post.title="%QUERY%" conditions; what we need are "indices" where to, you guessed it, index our content.
"Indexing?"
Yes, you read that correctly, just like Google, we'll need to index, re-index, re-re-index our data whenever we detect a change on those in order to keep our search results relevant, but you'll see that's not as complicated as it sounds. Also, you can see an index as a "bucket" of records, records being tiny bits of searchable content allowing you to search through them at a blazing fast speed.
The Search Kit
The search kit includes at least the API through which we'll search for content on our indices. Nonetheless, it can also include all the UI components consuming this API which can take an infinite number of forms as a search experience may not only involve a search bar as we said before (if you're still not convinced think about an Amazon results page for a bit).
So that Sounds Complicated...
It can be if you need to build and maintain all of that from scratch but that's where services like Algolia come to your rescue! Algolia is a company that offers you both databases to index your content on and development kits in plenty of languages to help you maintain your indices and kick-start your search UI. They even have a generous free plan for you to start building things on their platform~
Indexing Our Content on Algolia
One of the many benefits of Jamstack but more precisely of a statically generated website is that we know when there's a change to our content because often it triggers a webhook which leads to rebuilding our website whenever one occurs. I hinted that before but we'll take advantage of that in order to rebuild our indices at the same time, meaning that we'll re-index our content whenever a change is made to it. In this example, we'll index blog posts and see how to handle indices if that blog suddenly becomes international, but bear in mind that this is just an example and that the methodology is roughly the same if you want to index something else like products on an e-commerce website.
Getting Algolia
Of course, you can stick with theory if you want because the same principles also apply with other search services but given this post's title I think you're also here for Algolia so here we go (finally!) First you need an Algolia account in order to index your content on it, so sign in or create an account on Algolia. Then create an application, you should land on a page like that:
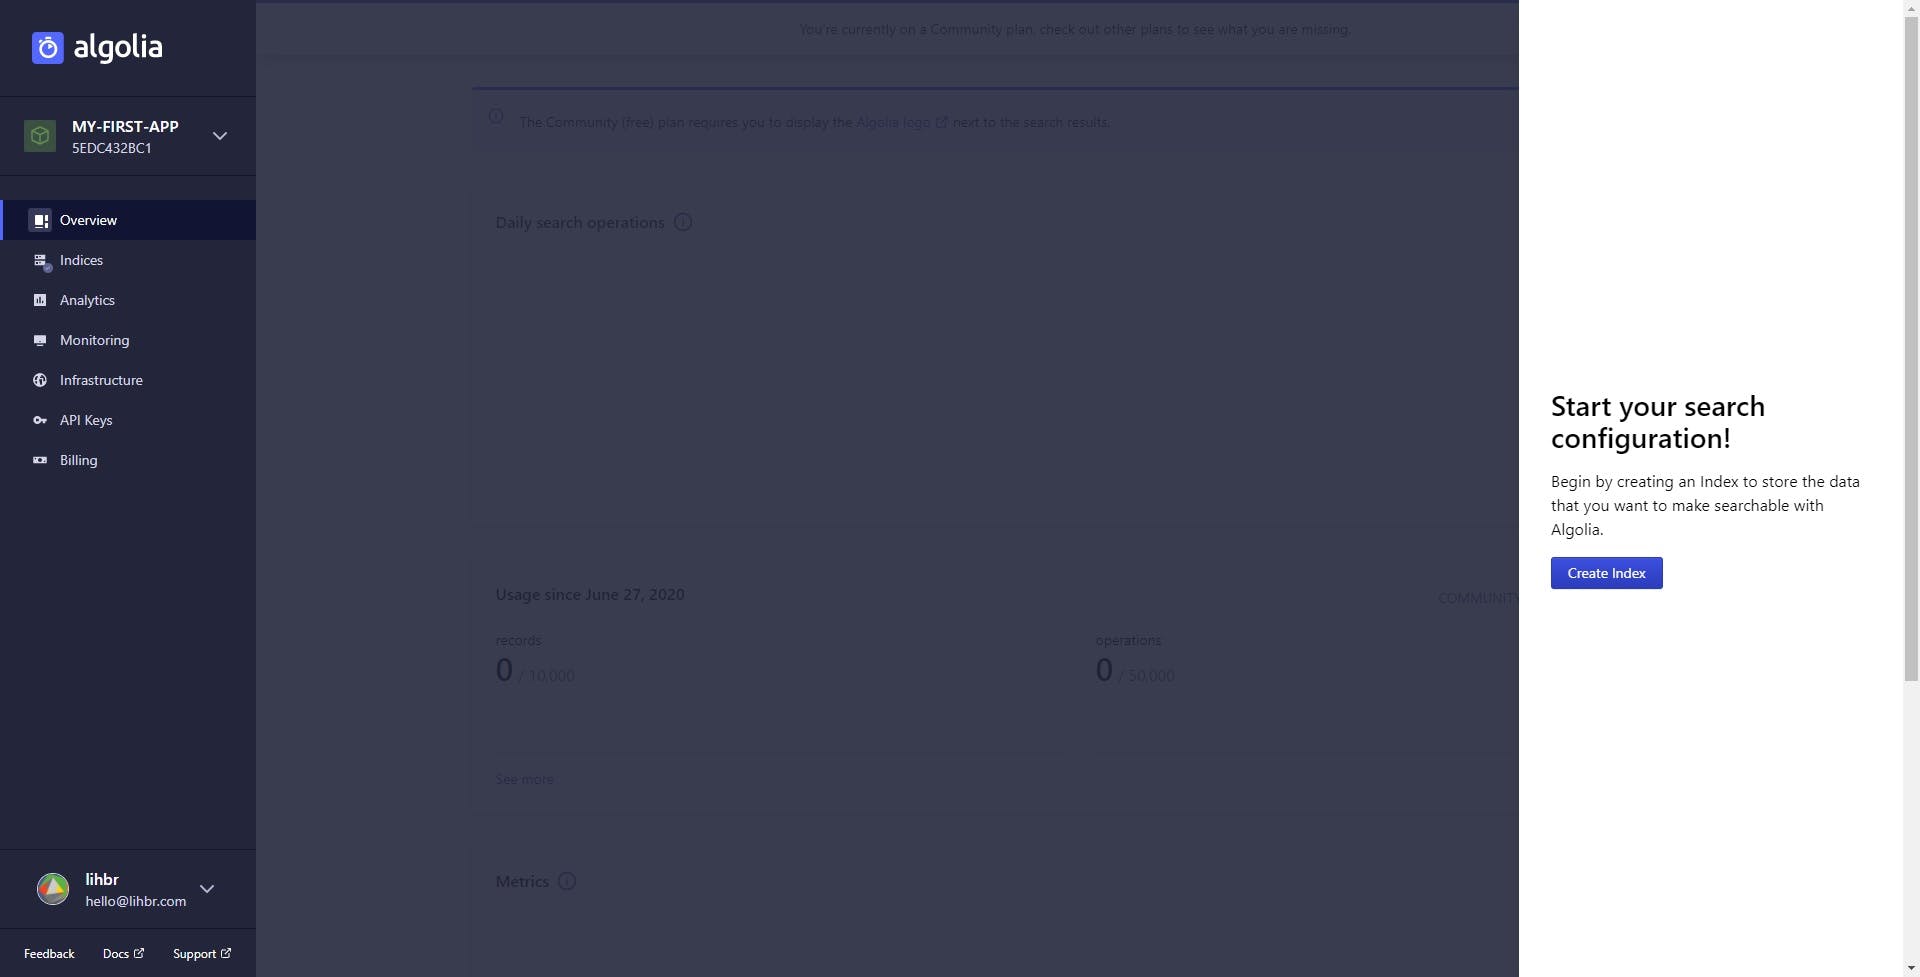
Once here just get to the "API Keys" tab and take note of your Application ID, Search-Only API Key, and Admin API Key. Respectively those are used by Algolia to:
- Know which application you're talking about;
- Perform read operations on your indices, you can use this one to build the front-end UI and expose it to the client without risk;
- Perform any type of operation on your indices, we'll use this one to build our indices.
Save those neatly in a .env file at the root of your repository (don't version it obviously) like that:
ALGOLIA_APP_ID=ABCDEFG123
ALGOLIA_SEARCH_KEY=1a1a1a1a1a1a1a1a1a1a1a1a1a1a1a1a
ALGOLIA_ADMIN_KEY=2b2b2b2b2b2b2b2b2b2b2b2b2b2b2b2b
Building the Script
We'll build the script in Node.js but before we need two dependencies:
algoliasearch, it's Algolia search client for JavaScript;dotenv, it's a module that takes care of loading your environment variables from a.envfile in your Node.js application.
Install them using your favorite package manager:
$ npm install algoliasearch dotenv
# yarn counterpart
$ yarn add algoliasearch dotenv
Once done you can create a search folder at the project root as your indices build script will eventually become bigger if you decide later on on improving your indices but to start, our script will remain in a single file: search/buildIndices.js. Now the fun begins~
Start by importing our dependencies at the top of the file:
require("dotenv").config();
const algoliasearch = require("algoliasearch");
Then here's how we'll do it, for now we just have a blog with posts in English, so we'll need to create one index following this recipe:
require("dotenv").config();
const algoliasearch = require("algoliasearch");

// Init Algolia client
const client = algoliasearch(
  process.env.ALGOLIA_APP_ID, // Those variables are coming from your .env file!
  process.env.ALGOLIA_ADMIN_KEY
);

// Here we need to create our index and we'll go like so:
// 1. Getting posts from your API
// 2. Creating index records for each post
// 3. Sending index records to Algolia
Let's tackle 1. quickly since this one isn't related to Algolia itself:
/* ... */

// 1. Getting posts from your API
const posts = getPosts();

/* ... */
Surprising uh? Well I cannot really help you with that one indeed as the goal of the getPosts function is pretty straightforward and its implementation really depends on your API reference, all you need is to end up with an array of post objects with their content.
Let's work on 2. now, according to Algolia documentation:
Record represents the single items that you search on. Records are the data counterpart to the results you see on the screen. Depending on the use case, a record can be: a product, film, song, actor, book.
So records are objects containing bits of searchable data, Algolia just requires you to provide them with an objectID key so it can handle operations on them. Each of our records will therefore look like this:
{
  "objectID": "", // The id of our post
  "slug": "", // The post slug to redirect to the correct post
  "title": "", // The post title to show in the autocomplete
  "importance": 0, // We'll use this to rank results
  "content": "" // Record's content
}
We'll start by creating records only for our post titles and leading paragraphs:
/* ... */

// 2. Creating index records for each post
const records = [];
for (const post of posts) {
  records.push(...getRecordsForPost(post));
}

/* ... */
Now let's have a look at our getRecordsForPost function, its goal is to create an array of records for a given post:
const getRecordsForPost = post => {
  const records = [];

  // Define tag importance
  const importanceRanking = {
    title: 0,
    lead: 1
  };

  // Create a standardized record function helper
  const createRecord = (key, importance, content) => ({
    objectID: `${post.uuid}-${key}`,
    slug: post.slug,
    title: post.title,
    importance,
    content
  });

  // Add title and lead to records
  records.push(createRecord("title", importanceRanking.title, post.title));
  records.push(createRecord("lead", importanceRanking.lead, post.lead));

  // Return records (only the ones with a non null content)
  return records.filter(record => !!record.content.trim());
};
Easy hmm? Now you can already log our records array after 2. for statement and see all the records created for each of your posts.
We almost made it! Now, all we have left to do is sending our records to Algolia. To do so we'll use Algolia index.replaceAllObjects method as we want to rebuild all our indices when rebuilding our website:
/* ... */
// 3. Sending index records to Algolia
const index = client.initIndex("blogPost-en"); // this will be the name of our index
index.replaceAllObjects(records, {}).then(() => {
console.info(
`Algolia Search: Successfully saved ${records.length} objects to index "blogPost-en"`
);
});
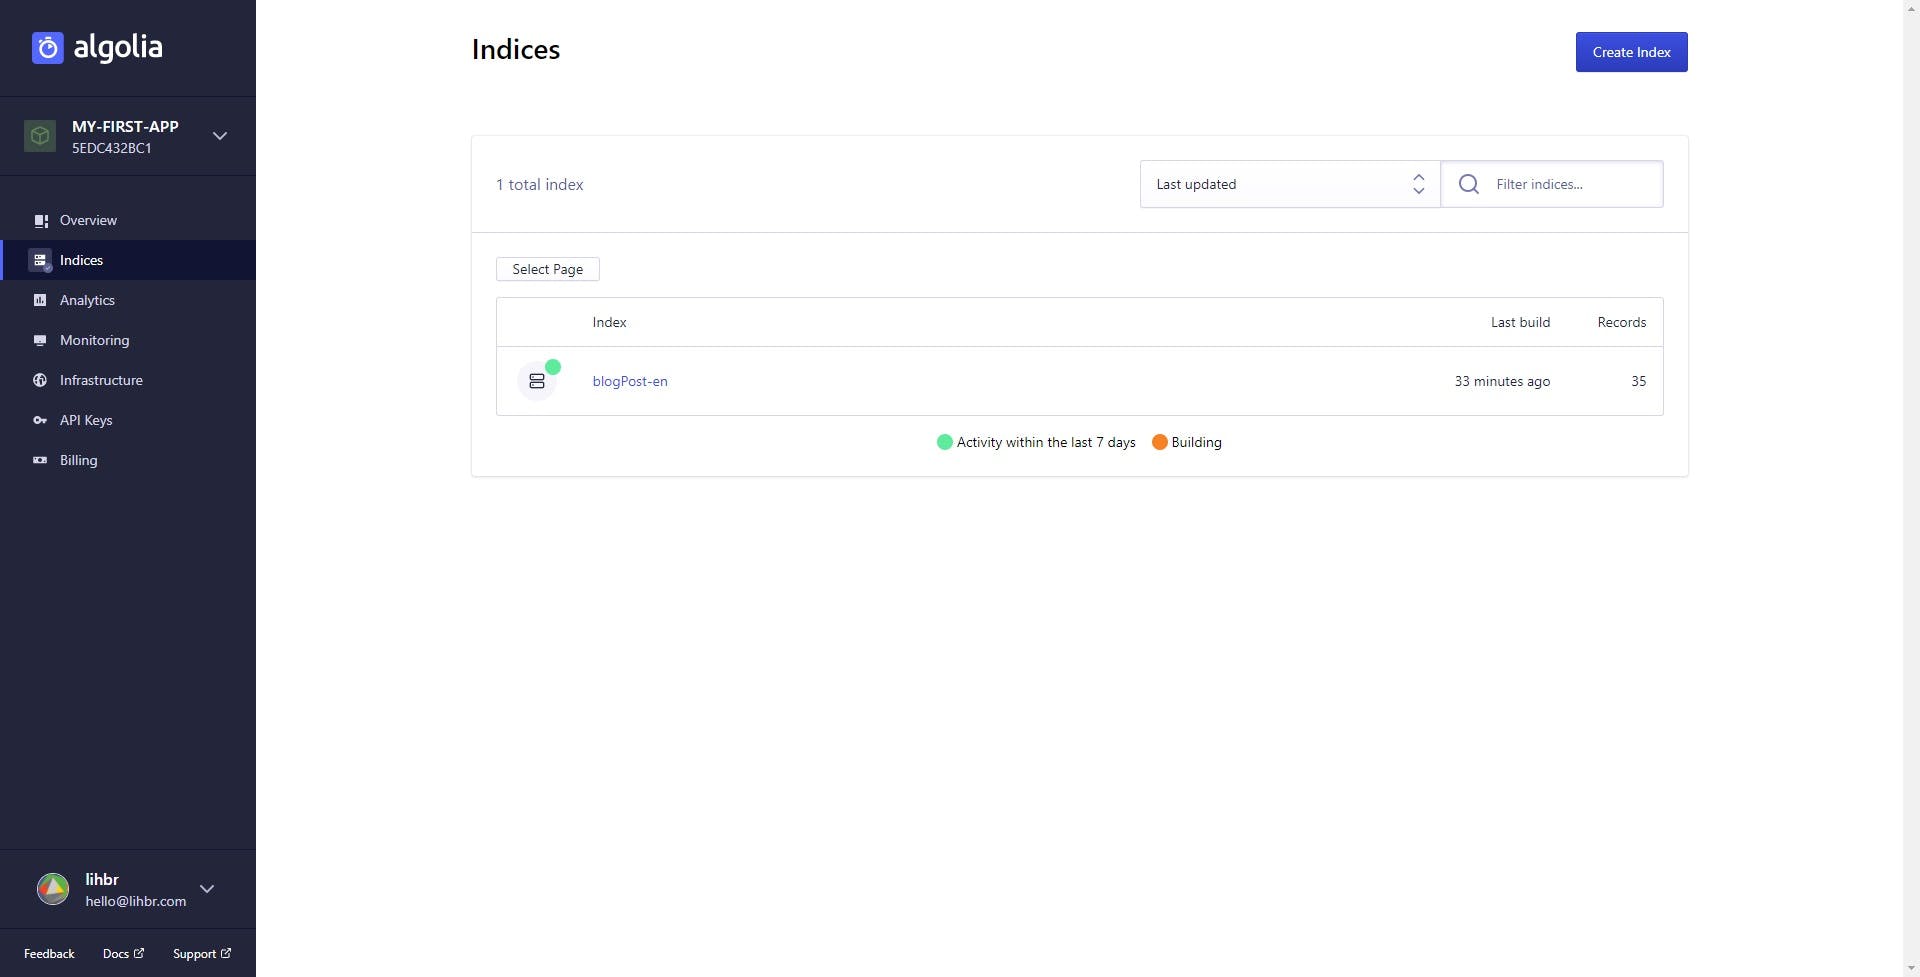
/* ... */Our script is now done and ready to index all our content in Algolia, run it once in order to create them: node ./search/buildIndices, if everything went well you should now have your first index up on Algolia dashboard:
Configuring Algolia Indices
In this section, we'll use Algolia web UI to configure our indices though you can also do so programmatically with the JavaScript client, see Algolia documentation.
By configuring our indices I mean two things:
- Setting searchable attributes: we need our search query to only hit against our
record.contentvalue; - Rank results by the importance set in our
record.importancein case there are multiple hits.
To configure searchable attributes, get to index configuration tab, then under the "Searchable attributes" section, click "Add a Searchable Attribute" finally select our content key.
As for the ranking get to the section below, "Ranking and Sorting", and click on "Add custom ranking attribute", select our importance key and sort it ascendingly.
Voilà! we're done configuring our indices on Algolia but feel free to dig deeper indices configuration if you want to fine-tune your search results.
Updating Indices When Deploying
So we built a Node.js script, to update our indices we just need to run it every time content changes and as we said earlier this means every time we deploy our application. In order to achieve that we just need to update our build command to also run node ./search/buildIndices, this can look like this, but you get the point:
# With Gatsby:
$ node ./search/buildIndices && npm run build
# With Nuxt.js
$ node ./search/buildIndices && npm run generate
Bonus 1: Indexing Posts Body Content
You may have noticed that we're only indexing our post titles and leading paragraphs, that's on purpose because in order to remain efficient our records need to remain short (in fact Algolia even restricts you to have records smaller than 10kb on most of its plans). The purpose of this section is to show you an example of how to index large records correctly and how to refine the way you're creating records.
So to deal with that short limit and index our post bodies we'll use Algolia suggested way: splitting our body tag by tag and then creating a record for each of those. Again this isn't "hacky" or anything else, this is just the way search databases need content to be in order to search quickly through it.
In this example, I'll consider that our CMS provides post bodies as raw HTML, so we'll use cheerio to manipulate DOM elements with Node.js, install it:
$ npm install cheerio
# yarn counterpart
$ yarn add cheerio
Now let's update our getRecordsForPost function in our script to also create records for our posts body content:
const getRecordsForPost = post => {
  const records = [];

  // We've added ranking for possible post body tags:
  const importanceRanking = {
    title: 0,
    lead: 1,
    h2: 2,
    h3: 3,
    h4: 4,
    default: 5
  };

  // This function remains the same
  const createRecord = (key, importance, content) => ({
    objectID: `${post.uuid}-${key}`,
    slug: post.slug,
    title: post.title,
    importance,
    content
  });

  records.push(createRecord("title", importanceRanking.title, post.title));
  records.push(createRecord("lead", importanceRanking.lead, post.lead));

  // Splitting post body tag by tag and adding them to records with cheerio
  const $ = cheerio.load(post.body);
  $("body")
    .children()
    .each((i, el) => {
      const key = `${el.name}-${i}`;
      const importance =
        importanceRanking[el.name] || importanceRanking.default;

      // We still slice found text at 5 000 characters in order to prevent records
      // from exceeding the 10kb limit in case we have really long paragraphs
      records.push(
        createRecord(
          key,
          importance,
          $(el)
            .text()
            .slice(0, 5000)
        )
      );
    });

  return records.filter(record => !!record.content.trim());
};
Now when the script will run it will also create records for our posts body content and index them, therefore allowing us to also search through them.
Bonus 2: Indexing International Content
I teased a bit it but what if our blog now handles international content? Since we don't want French users to have German results in their searches this means we'll have to create one index for each locale. With our current script this mainly involves wrapping our 3 steps process inside a for loop:
require("dotenv").config();
const algoliasearch = require("algoliasearch");

// Init Algolia client
const client = algoliasearch(
  process.env.ALGOLIA_APP_ID, // Those variables are coming from your .env file!
  process.env.ALGOLIA_ADMIN_KEY
);

// Looping through locales, assuming English, French and German here
for (const locale of ["en", "fr", "de"]) {
  // 1. Getting posts from your API
  const posts = getPosts(locale);

  // 2. Creating index records for each post
  const records = [];
  for (const post of posts) {
    records.push(...getRecordsForPost(post));
  }

  // 3. Sending index records to Algolia
  const index = client.initIndex(`blogPost-${locale}`);
  index.replaceAllObjects(records, {}).then(() => {
    console.info(
      `Algolia Search: Successfully saved ${records.length} objects to index "blogPost-${locale}"`
    );
  });
}
Obviously update your getPosts function accordingly to query only posts for a given locale, but again I cannot help you with that one~
What About the Search UI?
When I first wrote this article I added a part on how to create the Search UI although the way you want to shape it really depends on the search experience you're looking for, plus I want to keep this tutorial front-end framework agnostic so I won't dive into that front-end stuff here. But no worries, Algolia got us covered with plenty of widgets to kick start our search UI with, there's a kit for Vue.js, React, and more~
Getting Beyond...
I hope this tutorial was clear enough for you to understand the basics of implementing an Algolia search engine to your Jamstack website. Keep in mind that this is just a "first shot setup" and there are many ways in which you can improve it, for example, you can:
- Try to determine which content has changed when updating your indices in order to just update relevant records rather than dumping and recreating all of them from scratch every time like we did here;
- Improve the
importanceranking of post records, for example, a paragraph coming directly after anh2tag might be more important than the one after anh3tag; - And the list goes on...
Finally, if you want you can find all the code we discussed above on this Gist.
Thanks for reading!